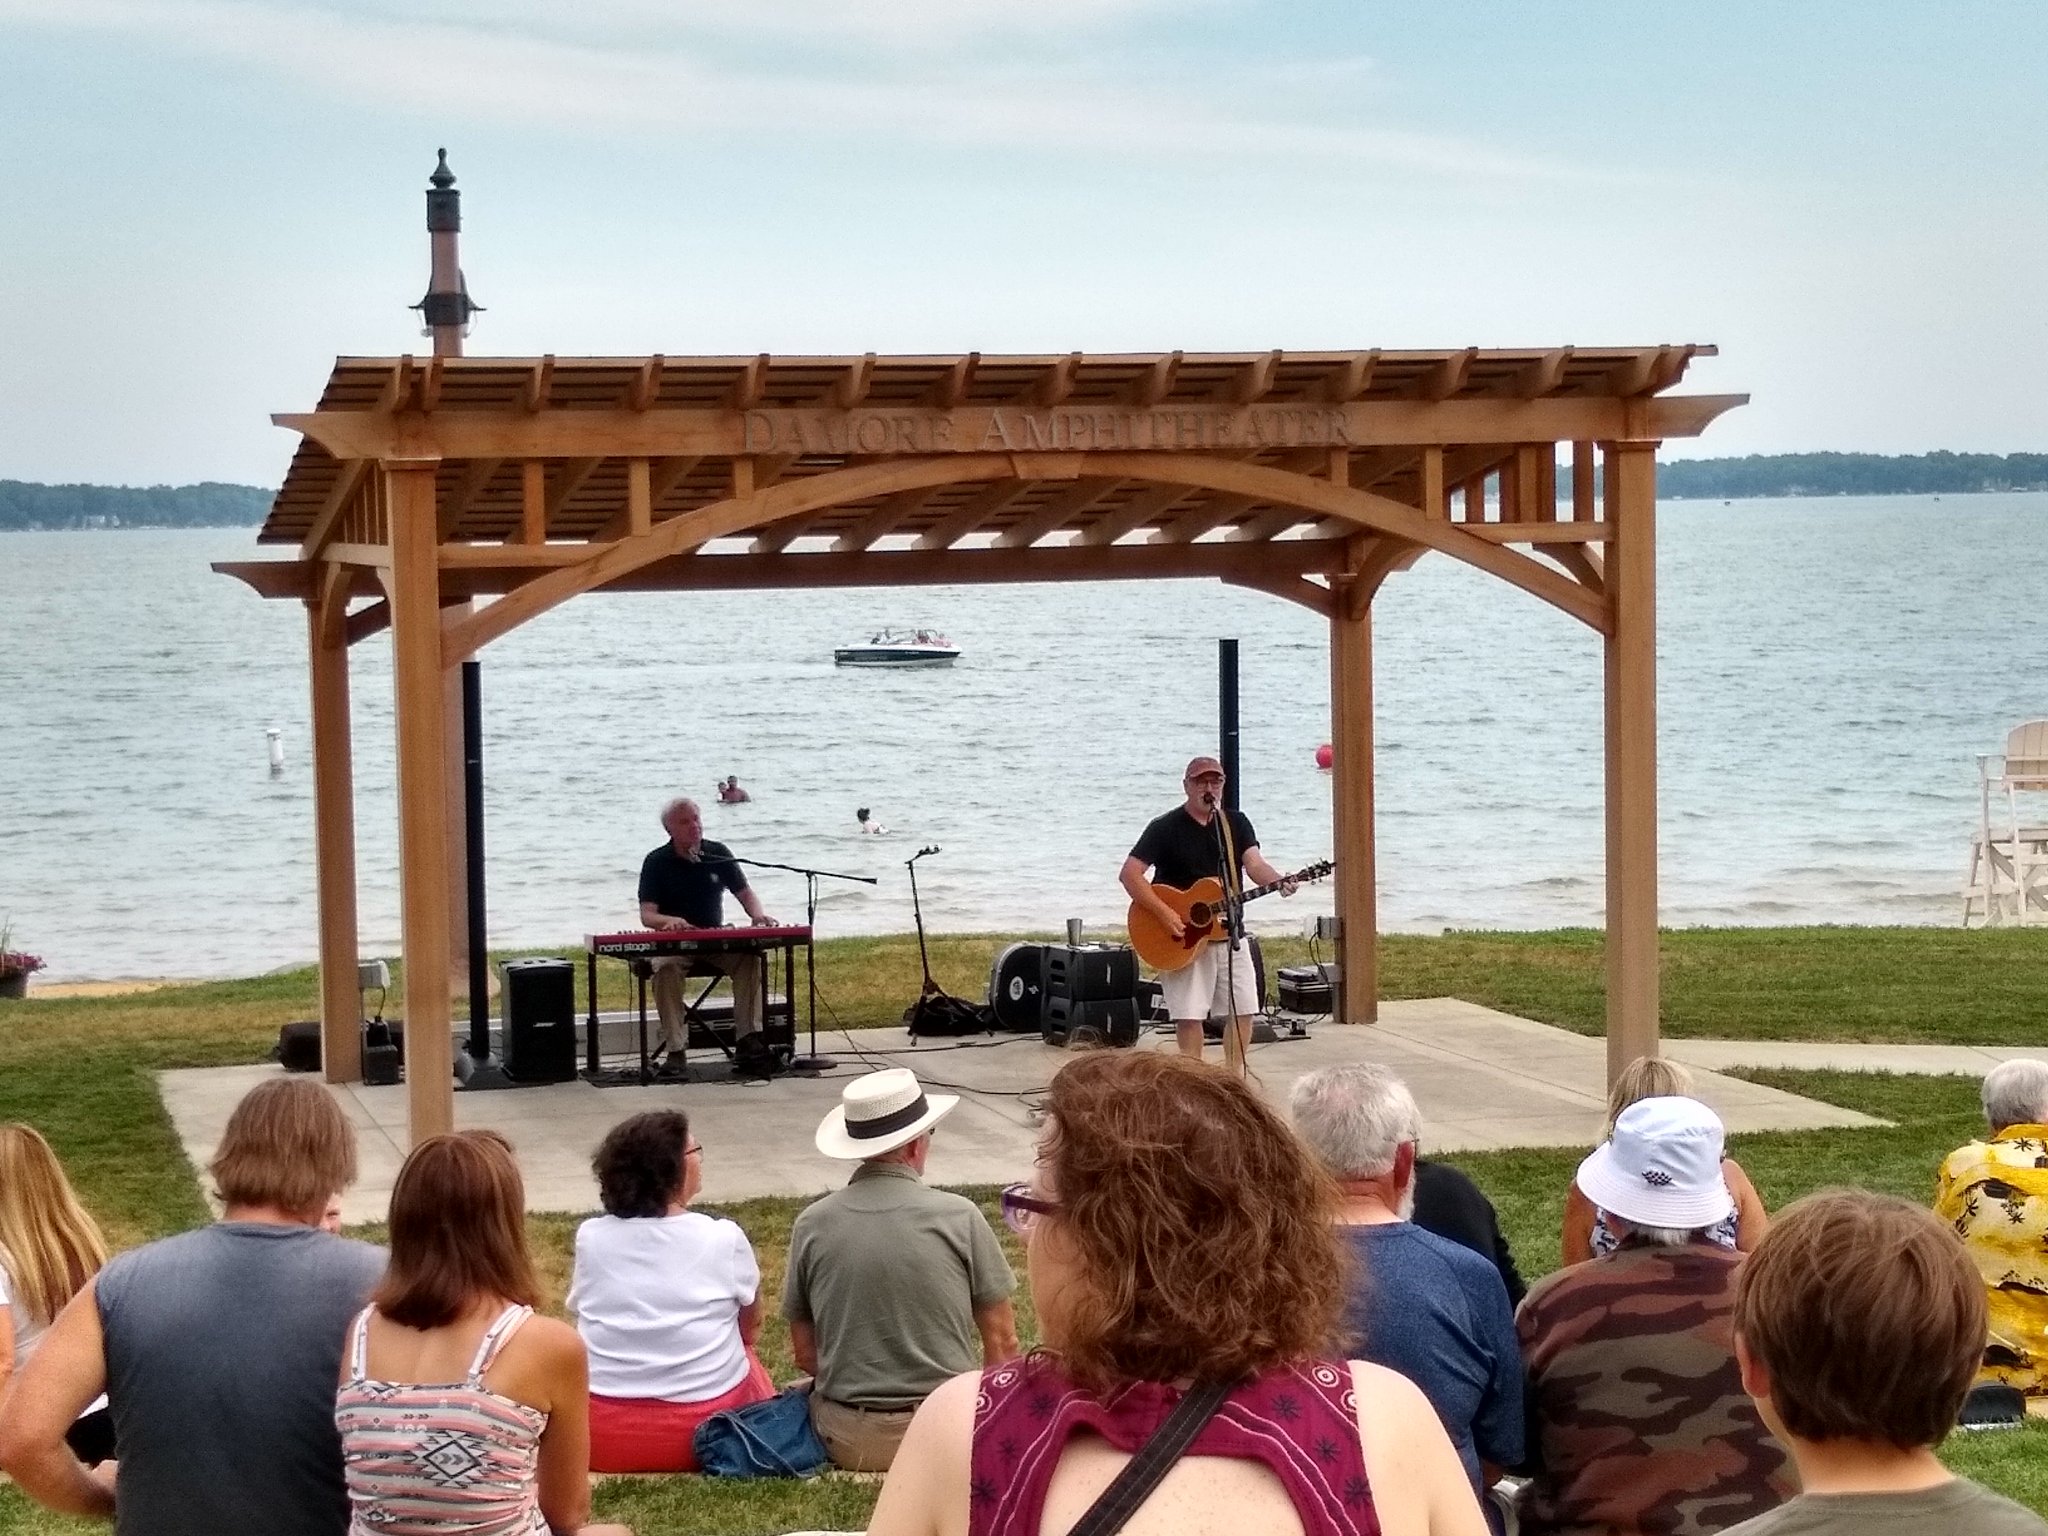
Steps to Home Resale Success

Seth Murphy at www.papadiy.com contributed today’s tips. If you like the post, check out his site.

 If out on your horizon of upcoming life events, you see the listing of your home for sale, it’s time to roll up your sleeves and get to work on increasing its resale value and boosting its chances on the real estate market. Such a task may appear overwhelming, but when broken down into doable parts based on your personal budget, it’s a simple process.

First, determine both the current listing price potential of your home and an achievable goal for resale price by seeking the advice of a local agent. Based on the difference between each number, strategically decide, then, upon a budget for home improvement spending and which portions of your home. If renovated, your home will deliver the most return for your money.

Even small changes can go a long way toward increasing the resale price of your home. Examine the following potential renovations, listed by budget capability to plan your approach to home improvement.

Under $100

  • Hire someone to conduct a thorough inspection of your home. They may discover hidden issues with basic structures and systems that could negatively impact its resale value.
  • Update interior paint. This is one of the simplest, most cost-effective improvements you can make. Freshly painted rooms appear clean and up-to-date, indicating value.
    • Zillow conducted research to find which paint colors yield the highest monetary return upon home resale. From the outside in, choose these colors in order to appeal to the broadest audience of home buyers:
      • Front door: Navy blue to dark grey or charcoal
      • Home exterior: Mix of grey and beige
      • Kitchen: Light blue to soft grey-blue
      • Living room: Light beige, pale taupe or oatmeal
      • Bedrooms: Light cerulean to cadet blue
      • Bathrooms: Powder blue to periwinkle
    • Avoid these color placements, as they were found to yield negative returns:
      • Home exterior: Medium brown, taupe or stucco
      • Kitchen: Yellow
      • Living room: Blue
      • Dining room: Red
      • Bathrooms: White
    • Trim your lawn and shape your hedges. Curb appeal is of utmost importance–if potential buyers don’t like what they see when driving by, they won’t be coming inside.
    • Conduct a top-to-bottom cleaning of your home, especially of those nooks and crannies you tend to overlook as time passes. You get one chance at a first impression–make your home sparkle.
    • Visually increase the square footage of your home. Rid yourself of unnecessary clutter or chunky pieces of furniture that create obstacles to maneuvering through the space. Let in more natural light (sunny = spacious) and consider adding a large mirror to a small room to make it feel bigger.

Under $200

  • Ditch the popcorn ceilings, as few structural elements date a house more. Find a solution to soften the texture, and then simply scrape the popcorn away.
  • Make simple repairs to your roof, the most common being replacing broken or missing tiles. Cut wooden shingles with a saw, asphalt shingles with a utility knife and clay or concrete tiles with an angle grinder. Position the new tile, hooking its nibs over the furring strip and ensuring that it’s securely attached. Remove the wedges from the adjoining tiles, and check that the new tile is sitting flush with its neighbors.

Under $400

  • Replace outdated lighting and cooling fixtures with new, more energy efficient options.

More expensive, higher returns

  • Renovate the master bathroom, or add an entirely new bathroom if your home features a limited number.
  • Replace old appliances with updated, commercial-style versions.
  • Add insulation to the attic to reduce utility costs.
  • Replace the garage door, an improvement option from which sellers can expect to recoup 85 percent of the cost, according to Remodeling Magazine.
  • Replace the front door, adding functionality, safety and curb appeal. Sellers usually regain 91 percent of the cost of a steel entry door and nearly 78 percent of the cost of a fiberglass door.

With some budget examination, strategic thought and goal-oriented planning, the renovation of your home will pay off by improving its resale appeal and price potential.

Photo Credit: Pixabay

Damore Amphitheater – Preconstruction Meeting

We had the preconstruction meeting for the Damore Amphitheater this morning. We had all the staking completed and the tiers painted on the grass… but the paint didn’t show up too well through the snow! (See Right) Happy April!!! Not exactly the way we wanted to start the project…

The timelike on this calls for completion by Memorial Day. Despite the snow fall Mother Nature so rudely dropped on us today, we should still be good to go for that. There may be some plantings that stretch that date if the nurseries can’t open, but it’s too soon to be pessimistic about that. We have most of our orders placed and should be good to go with all of the hardscape.

Conceptual Drawing

FH Decks and Landscaping, Inc. will be our major subcontractor on this project, completing the earthwork, stone work and landscape installation. We wanted to keep this project local and were happy that it turned out that way.

This project was part of Culver’s Stellar Communities application in 2016, but through fundraising and other grants, Culver was able to move forward on this project without Stellar. This was done through IHCDA’s Patronicity program. That made room for other project funding in the 2017 Stellar application. Thanks go to the Damore family stepping up as the lead sponsor. Their leadership was invaluable.

Simple Sound Proofing

I’ve been remiss on posting tips lately. There has been a lot going on! With the construction underway on the Sand Hill Farm apartments, I thought I would share a few simple sound proofing solutions we are using on this project. Most of these are green solutions as well as sound proofing.

2′ Stud Spacing:

First, we have used 2′ spacing on studs wherever possible. On the green side, every stud removed from the project is a savings of cost and and material. Literally hundreds of studs were removed from the project through this reduction of studs as well as doing things like using California Corners. Sound travels more easily through hard surfaces. By eliminating the number of studs we’ve eliminated the sound transfer points. On the exterior, this has the other benefit of allowing more insulation. Just as the studs transfer sound, they are more efficient at transferring heat. Every stud removed is one less heat transfer point as well. That stud space is filled with insulation. We are using 2×6 exterior wall framing which allows for additional insulation.

On the inside, it is more directly sound transfer. We have continued to use 2′ centers wherever possible. This helps sound transfer throughout the building.

Staggered Stud Walls

In the walls between the units we are not only using 2′ centers, but we are using a staggered stud wall. This is done by using 2×6 top and bottom plate and then staggering the studs from one side to the other every 12″. In the picture to the left, you can see the green (treated) 2×6 base plate and the staggered 2×4 studs attached to it. This effectively give you 2′ centers on each side and reduces the direct connection for sound transfer to the top and bottom plates. We will then weave sound batt insulation between the studs for additional sound deadening. There are a few exceptions where a 2×6 column is required, but in the majority of these adjoining unit walls, the staggered stud configuration is continuous.

Open Web Floor Trusses

The floor trusses between the first and second floor are open web trusses. Using open web trusses reduce those hard service transfer points that you would have with standard dimension lumber or even with I-joist. The other advantage to the trusses is we can increase the spacing from the standard 16″ spacing used for solid wood to 19.2″ on centers. Sound batt insulation will be placed between the trusses to further reduce sound transfer.

Sound Channels

Before the drywall is installed on the ceilings, we are installing sound dampening channels. These are Z shaped channels that run perpendicular to the floor trusses. The changes the hard surface connection to just the 3-4 square inches at each channel to truss connection. The Z shape of the channel allows some minimal flex which again will absorb some sound.

5/8″ Drywall Walls

Normal residential construction would have 1/2″ drywall on the walls and 5/8″ drywall on the ceilings. We are using 5/8″ drywall throughout. The additional mass will not only provide a more durable surface when spanning the 2′ stud spacing, but it will also help reduce sound transfer.

Sound dampening Underlayment

All of the floors on the second floor will be laminate. This was chosen after talking to several realtors. The number of people having allergy issues has increased and this has increased the popularity of hardwoods and laminate floors. Hardwood floors tend to transfer sound though. Laminates reduce that. We have chosen a laminate plank flooring that will simulate a hardwood look, but absorb more sound. In addition to this, using this material allows us to put down a sound dampening underlayment beneath the laminate planks adding one more layer of sound protection. This system has the added benefit of being nearly impermeable to water.


Sand Hill Farm in the News

Article from the March 30, 2018 Culver Citizen

We made the paper this week with our Sand Hill Farm Apartment’s project appearing in the Culver Citizen. Beth Pare and her son came out in the rain for a walk-thru this past Tuesday. Despite the rain there was still a lot of activity at the site. Drywall was being delivered as we spoke.

There’s not much doubt that the follow-thru on our Stellar 2016 application pledge of completing workforce housing helped us secure Stellar Community designation in 2017. Preliminary site work had already begun when the Stellar Site Visit occurred. Our successful Stellar designation makes this phase I of workforce housing. Our application for IHCDA funding goes in this July. We will be starting with a market study shortly and will plan for that construction in 2019.

Progress has been good this week. All but four windows are in place. Those four have been left out on the second floor until the rest of the drywall is delivered. The drywall will be place on the second floor through those openings using a boom truck. The majority of the exterior doors have been installed. The shingles are on. The interior winding stairs to the second floor bedrooms have been installed. And progress continues on Plumbing and Electrical rough-in.

Last week we had meetings with Elkay to discuss the cabinetry that they are providing. They made an additional change to include Elkay sinks in each unit. Thank you Elkay!

Half Century Award

I received a notice yesterday that we have been selected to be part of the the IEDC’s 2o18 Century and Half-Century Award Class. Figured I’d better go ahead and apply now since the award may not be around in 10 years when our Century in business rolls around. Plus I probably won’t be here to fill out the paperwork in 10 years! (I need to change our tagline on the home page! We’re at 90 years now!)

It’s particularly remarkable for Easterday Construction to make this milestone as a family business. Very few family businesses make it past the 2nd generation, let alone into the 4th as we have. I’m sure that Great Grandpa Easterday didn’t plan for this since he didn’t even bother to keep the records of our actual start date!

Those of us working here now can only take a little of the credit, as we’re standing on the shoulders of those that came before us. I will be honoring them when I accept this award.

So I get to go down to the Statehouse on April 11th to receive the award. Maybe I’ll get a photo op with Governor Holcomb… or maybe Henry! I’ll report back here afterwards.