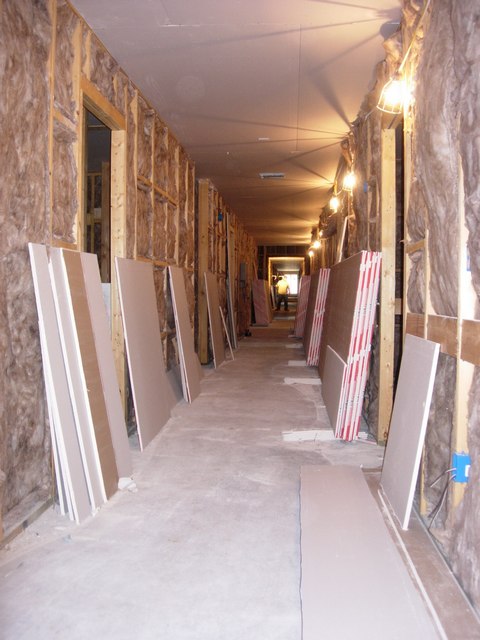
Some of the manufactured housing companies from the 50’s and 60’s were ahead of the curve on green building. Many of them used panelization (prefabricated wall sections) for their wall construction. Interior, non-bearing walls were often constructed using 2×2’s in lieu of the standard 2×4’s. This resulted in space savings, but created non-standard door jambs and generally required 1-3/8″ door thicknesses. Electrical box installations are tight and these walls are not suitable for chases in most cases. The narrow walls and narrow door jambs were followed by smaller than average casings, base and other associated trim.
There are many of these homes in the residential areas of Culver. I have no confirmations, but it is our understanding that most of these homes were purchased through National Homes out of Lafayette, Indiana. We were contracted to move a wall in one of these homes on Academy Road last month. This reminds us of a previous project completed on Fleet Parkway.
This project was a home purchased from a past client where we had completed several projects. The home was purchased by an Interior Designer and her family. She wanted to update the Master Bathroom, Guest Bathroom and Kitchen.

Along with this she wanted to change the existing trim throughout the house. She chose an oversized MDF trim for the casing and base which gave the walls more mass. This was added to all of the main floor rooms as well as the downstairs family room. We were able to collaborate with her on several methods of changing the trim such as the detail to the right (and the cap detail here) at the entrance to the dining room from the living room. This disguised one of the main openings where the narrow walls were obvious. The change was dramatic as you can see in these before and after pictures.
 We provided a custom window seat at the main window in the living room providing a focal point for the room. This made a dramatic change to that room. There was also a dated white wrought iron railing system at the stairs into the room which we changed to wood following the theme of increasing the scale of accent elements.
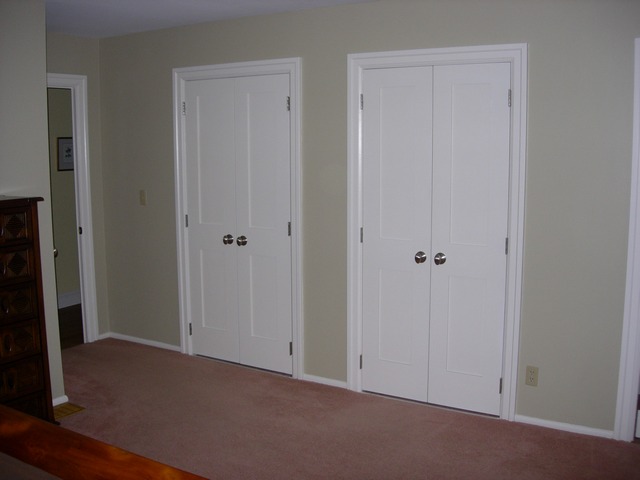 The existing doors were a hollow core wood with stained veneer finish. These were changed to two panel (stacked) composite doors which were painted white to match the trim. The composite doors are heavier which required some reinforcing of the jambs, but the added weight made the 1-3/8″ thickness less noticeable. New hardware further enhanced the substantial feeling. An example of this can be seen in the master bedroom closet doors in the picture to the right. (Notice the size of the existing baseboard which was retained in this room.)
 In the original floor plan, the master bathroom was small and was adjacent to a combination bathroom/laundry room that served the other two bedrooms. As part of the remodel, we expanded the master bathroom, stealing space from the laundry room. This expanded the master bath sufficiently to allow a separate shower and soaking tub (left). A furniture piece sink was used in this room. Tile floors were added with tile shower surrounds and a tile surround for the tub. Beadboard wainscot was added as well.
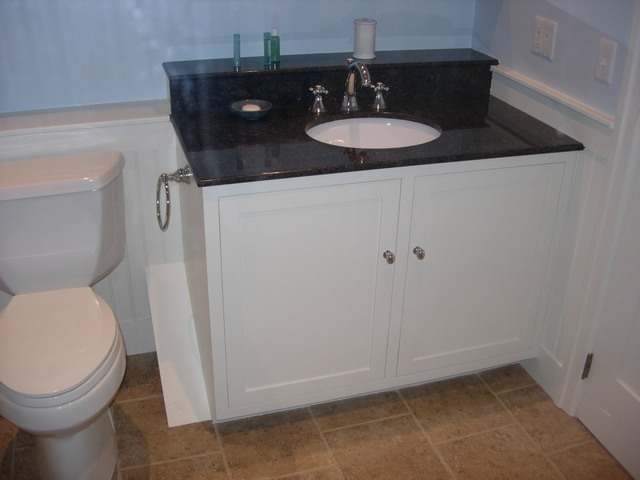 An existing closet was used to create a new guest bathroom to serve the other two bedrooms. This bath also included tile floors and wall details as well as similar beadboard wainscot. A custom cabinet was created to allow the sink to be installed over the area where the head space for the stairs to the basement encroached on this room. A tub-shower was installed opposite the sink. Custom clear glass shower partitions and doors were included in both rooms.
We also provided a custom cabinetry fireplace surround in the family room. The old cabinetry was removed and replaced with custom sizes. The red brick fireplace was covered in drywall and wood refreshing its appearance. The stained shelves were removed and reconstructed with the larger trim, recessed shelf strips, and custom shelves to match the cabinetry below. (See pictures below.)
[slideshow type=”cycle” category=”133″ size=”normal”]
It was quite amazing what these changes did to transform the home. We are pleased and proud that we were allowed to be part of this project.