
Tomorrow is Veterans Day. Thank you to all our veterans that have served our country over the years. Your service is appreciated.
Here is a list from Christian Carlson and the Friday Five that includes some businesses that are doing a little extra to show their support. He suggests bringing your military ID or wearing your uniform to take advantage of these. Some offers may vary by location.
- Ameristar Casino Hotel – Free Lunch (11-2) or Dinner (5-9)
- Applebee’s – Free Thank You Meal
- Bar Louie – Free meal up to a $12 value Monday and Tuesday
- Bob Evans – All–you-can-eat hotcakes
-
Barrabba’s – Free Appetizer
-
Center for History and Studebaker Museum – Free admissionChili’s – Free meal from a special Veterans Day menuChuck E. Cheese’s – 20 free tokens Sunday thru Saturday the 15th
Drive & Shine Car Wash – Free Diamond Car Wash
Flags International – 21% discount for veterans through Tuesday
Golden Corral – Free buffet and beverage from 5 PM to 9 PM November 17th
Great Clips – Free haircut Tuesday thru December 31stGrissom Air Museum – Free admission, gospel country concert by Rene Jones at 10am, honor guard at 3:30pmHair Crafters – Free haircuts and root beer for veterans
Honkers – Free Polish buffet from 2 to 8pm with beverage purchaseIHOP – Free Red, White and Blue pancakes from 7am to 7pm (may also include eggs, bacon and hashed browns)Krispy Kreme – Free Doughnut & Small Coffee
Martin’s Supermarkets – Free Honor Meal (two pieces of fried chicken, a side of mashed potatoes, a side of cold salad, a roll, a hot or cold 16-ounce deli beverage, a single serving of milk, a serving of ice cream and a slice of Martin’s cake while supplies last)
Olive Garden – Free meal from Veterans Day menu
Outback Steakhouse – Free Bloomin’ Onion® and a beverage
Ponderosa – Free buffet on November 17th
Red Lobster – Free appetizer from a special menu (Monday thru Thursday)
Red Robin – Free Tavern Double Burger and Bottomless Steak Fries
Ruthmere Museum – Free admission and free flags for veterans on Tuesday
Ryan’s – Free dine-in lunch from open until 3:30pm
Sport Clips – Free Haircut – Sport Clips is also raising money for the Veterans of Foreign Wars’ (VFW) Operation Uplink program and will donate a $1 for every haircut service to the program.
Starbucks – Free tall brewed coffee (includes spouses)
Texas Roadhouse – Free special veterans lunch menu including a beverage and sides between 11am and 2pm Tuesday
TGI Fridays – Free Lunch from 11 am to 2 pm
Travel Centers of America – All CDL Drivers who are Military Veterans eat free with valid ID
Image © 2011 Frank Glick, used with permission, all rights reserved. www.liketophoto.com
 I visited a client last week who was asking about a portion of his home that had a sagging ridge line. The roof is also the style that has two different roof slopes along the rafters. It is an older home so my first thought was that it was not built using trusses and the rafters and or ridge beam was undersized. I asked to go inside to see what internal effect this was having and was somewhat surprised to find a room with a vaulted ceiling which did not follow the roof line at all! While this is not unusual and is often accomplished in current designs using a
  One of the advantages of a truss roof is that the roof load is transferred directly down on the perimeter walls. When properly designed, the loads in a rafter roof design transfer the loads down as well, but when the ridge beam is undersized, it will sag causing the rafters to exert lateral pressure on the perimeter walls. There weren’t any particular indications of this occurring. And then there is the puzzle of the vaulted ceiling. According the the owner, it was a later addition, so was a new ridge beam and rafter system put in below the roof to support the ceiling? Is the ceiling hanging from the roof beam and rafters? (Which would add to the stress on the roof.) Unfortunately I had to admit that my X-ray vision was not up to the task of determining the internal workings of the roof and ceiling situation.
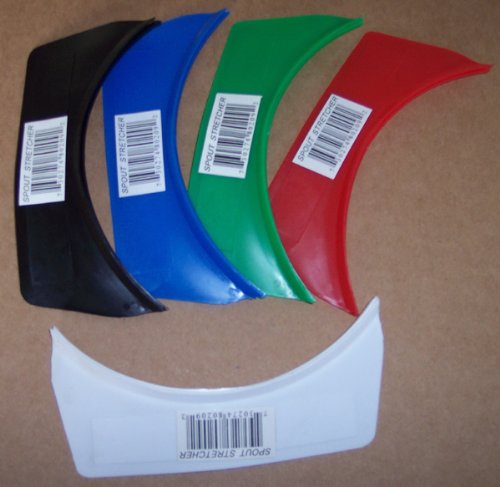 A common problem with paint cans is the build up of paint in the lid groove. This can cause spills outside the can and the inability to close the can properly. To reduce this issue, take a 6 penny nail and puncture the can in the groove. These holes allow the paint to drain back into the can. They don’t affect the seal on the can as they are below where the lid friction fits when reinstalled.